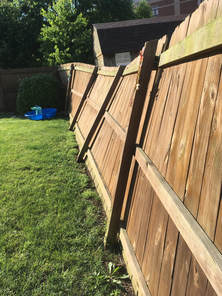
 The process of repairing a fence starts first with assessing the damage to determine the cause of failure. Oftentimes the failure started out with human factors, such as a vehicle or other large object striking the fence causing it to be pushed out of level. The gravitational pull placed on a post is increased for every degree the post is out of level (plumb), combined with changing seasons with the freeze/thaw cycles, this process of leaning or sagging accelerates rapidly. Once a single post is sagging, the force of the fence stresses the surrounding posts causing an entire fence to start leaning. 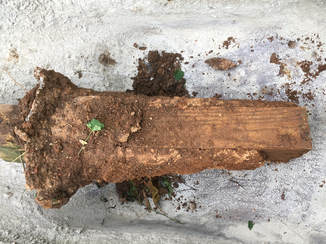 Fences also fail, unfortunately, due to human error during installation. Inadequate post depth, improper pouring of concrete, to little concrete and placement of post in obvious places of drainage all contribute to premature failure of fence posts. Fence posts need a minimum depth of 28-30" for a 6' tall privacy fence and 24" for 4' tall fences. The post hole needs to be round and consistent diameter surrounding the post and ideally contain a "bell" shape at the bottom of the post hole. Common mistakes while digging post holes include inadequate depth and a "carrot" shaped hole thats wider at the top than the bottom which creates a weaker post thats more prone to leaning. 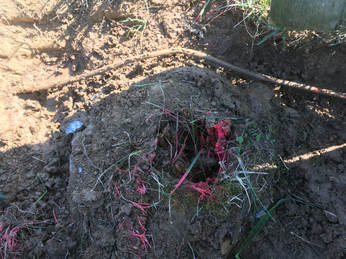 The process of replacing posts is straight forward, requiring only attention to detail and manual labor. The first step is to always call 811 to have any underground utilities located. It never ceases to amaze me how many wires and cables are ran mere inches from the fence. Cutting a buried utility carries hefty fines that can be avoided by simply exercising due diligence by using the free 811 service. 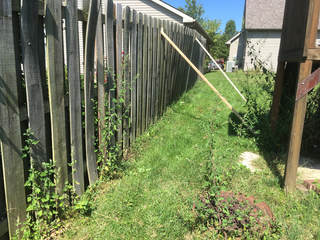 My process is then to brace any leaning panels to prevent them from falling before carefully detaching the panels from the damaged post. I typically use a metal blade on a reciprocating saw to cut the nails or screws to avoid having to use prying tools that can damage the 2x4 supports. Once the panels are detached, I dig a hole beside the exiting post until I reach the bottom of the post, I then carefully pry the concrete plug out of the ground. If the concrete plug will not move, I will then break it by using a sledge hammer and remove the individual chunks of concrete. 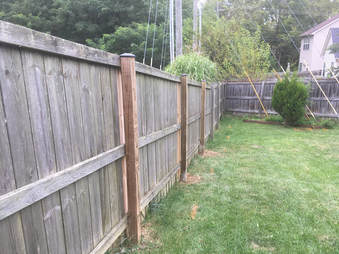 Once the damaged post is removed, I run a string that is attached to the remaining good post. I then place a new post, set to the proper depth and have it lined up to the string while using a level to ensure its completely plumb on all sides. Concrete is then poured, filling the entire hole and surrounding the post. Once the concrete has cured (2-3 days for regular concrete, 4 hours for "Fast setting" concrete), a string is ran along the top of the fence and the panels attached with the tops following the top of the string to ensure consistent flow of the top pickets. 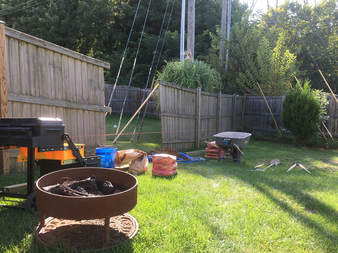 Replacing fence post constitutes the greatest percentage of repairs that we make. The process as outlined in this blog post is very straight forward and can be accomplished by the willing homeowner with the most basic of tools and a willingness to get dirty. If you would like a quote from the 'Fence Medic', we would love to look at your project and provide a free quote. We take pride in maintaining a clean job-site, we want the only sign of our presence being a strong, straight fence!
1 Comment
4/24/2019 08:30:42 am
I really liked how you included pictures to go along with you descriptions of repairs. I think that this helps to visualize what needs to be done or what to recognize. It's definitely helped me to understand the process better.
Reply
Your comment will be posted after it is approved.
Leave a Reply. |
Philip SalleeOwner and founder of "The Fence Medic". Archives
July 2022
Categories |
 RSS Feed